Mar 07 2024
/
Patch Panel 24 port To Power Maximizing the Network Efficiency
In networking, structured cabling supports information flow. Patch panels are key, in organizing incoming and outgoing lines. Choosing a 24-port patch panel is crucial for efficiency. Learn how it enhances network capabilities.
Understanding Patch Panels
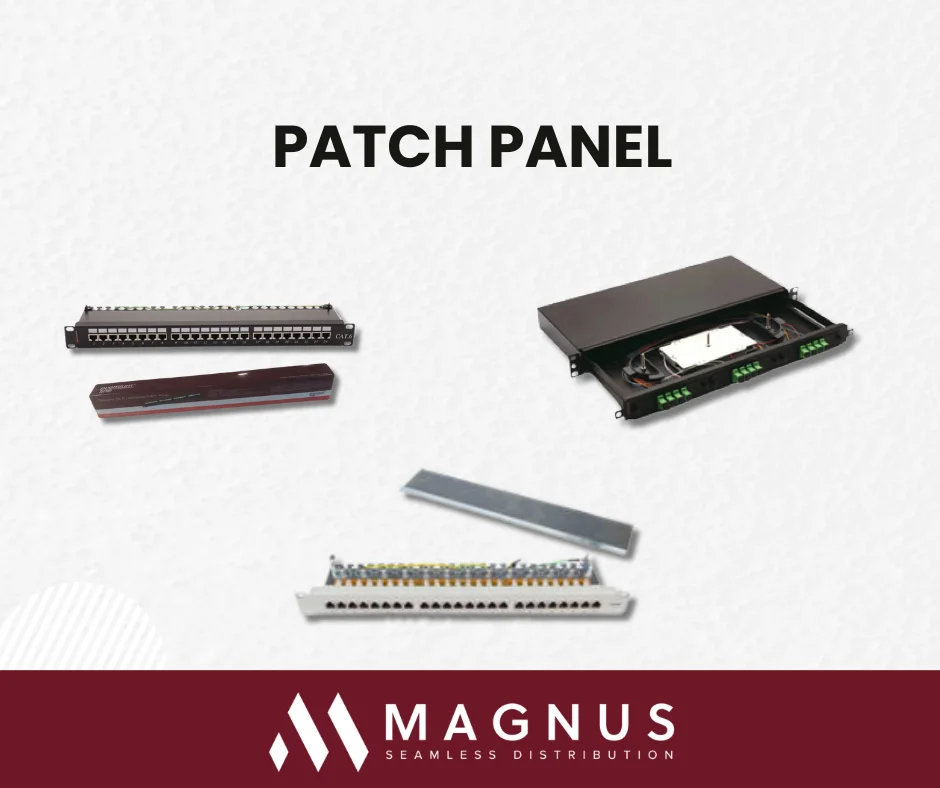
Types of Patch Panels
- Loaded Patch Panels: These come with jacks already pre-installed, often with a dedicated architecture for voice or data applications.
- Unloaded Patch Panels: Offer flexibility by allowing you to choose and install your jacks, making them suitable for custom network setups.
- Feed-Through Patch Panels: Eliminate the need for punch-downs as cables are run straight through connectors.
Benefits of patch panel 24 port
- Scalability and Flexibility:
- Expandable capacity for network growth without infrastructure overhaul.
- Provides ample ports for easy network adaptation.
- Improved Organization and Cable Management:
- Reduces cable clutter for a neater setup.
- Simplifies troubleshooting and maintenance.
- Facilitates quick issue identification with structured layout and labeling, minimizing downtime.
- Cost-Effective Solutions:
- Ideal for small businesses and startups.
- Strikes a balance between growth capacity and investment.
- Offers scalability without excessive costs, providing a cost-efficient solution.
Installation and Maintenance Tips
Step-by-Step Installation Guide
Follow these general steps to securely install your 24-port patch panel:
- Prepare the Network Rack:(H4) Ensure the network rack is ready to receive the patch panel, with adequate space and power if necessary.
- Label Your Cables:(H4) Before cutting over, clearly label all the cables being fed into the patch panel. This will save time and confusion later.
- Prepare the Patch Panel:(H4) If necessary, punch down the cables onto the patch panel using the appropriate tool, following wiring standards.
- Mounting the Patch Panel:(H4) Securely mount the patch panel on the network rack, aligning the ports with the ones you labeled earlier.
- Connect the Cables:(H4) Using appropriate patch cords, connect the ports on your patch panel to the corresponding ports on your network devices.
- Test Your Connections:(H4) Verify that all connections are active and functioning as intended.
To have a proper detailed example check this video – click here
Maintaining Your Patch Panel Connections
Maintenance procedures are simpler compared to installation, incorporating checks and balances to guarantee seamless operation. Key practices to follow:
- Perform routine visual inspections to detect any signs of wear or damage.
- Implement cable management strategies to maintain organized and strain-free cords.
- Establish a labeling system that facilitates quick identification of ports and connections.
Troubleshooting Common Patch Panel Issues
- Encountering issues with patch panel setups is common
- Efficient diagnosis and resolution are crucial
- Problems often stem from poor cable management, incorrect labeling, or faulty connections
- Systematically check each connection for damage
- Utilize network testing tools to detect non-performing links
- Maintain accurate labeling for easy troubleshooting
- A methodical approach aids in identifying and resolving patch panel problems
Where to Buy Patch Panels
Case Studies or Success Stories
Small Business Success
Systematic Reseller Implementation
Conclusion
Frequently Asked Questions
What is a 24-port patch panel
How does a patch panel improve network efficiency?
Can a 24-port patch panel support future network expansions?
Is it complicated to set up a 24-port patch panel?
Where can small business owners purchase a 24-port patch panel?
24-port patch panels are available through IT resellers, online marketplaces, and electronics stores. It’s advisable to consult with an IT professional or reseller to find a panel that best suits your network’s specific needs. you can always contact us
